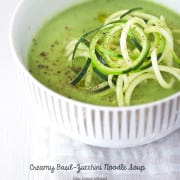
Welcome Spring! and its amazing crazy weather, hehehe… here in Austin, Tx it’s rainy, cloudy and around 60 degrees that feels like 50 degrees. So I think a vegetable noodle soup, with a bright green hue, light, creamy and bright will lift up any cloudy weather… If you live in a part of the world where the weather feels accordingly with the Spring season, hey! this Creamy Basil-Zucchini Noodle Soup it’s also for you since it can be served warm or cold.
Describing this soup is a dreamy pleasure, it is creamy, fragrant, gluten-free, vegan, vegetarian, green, calorie friendly and easy to make. The basil, ginger, and coconut give this soup an aromatic spring flare. The raw zucchini noodles add bite and texture to the soup. For me, it always has been interesting to enhance one flavor by combining different cooking variations of it. Raw, steamed, roasted, sautéed, two or three variations in one dish with the same ingredient. I believe that by maximizing one subtle ingredient like zucchini you can achieve maximum dept of flavor, textures, temperatures and add lots of character to the dish by focusing on “the” one ingredient.
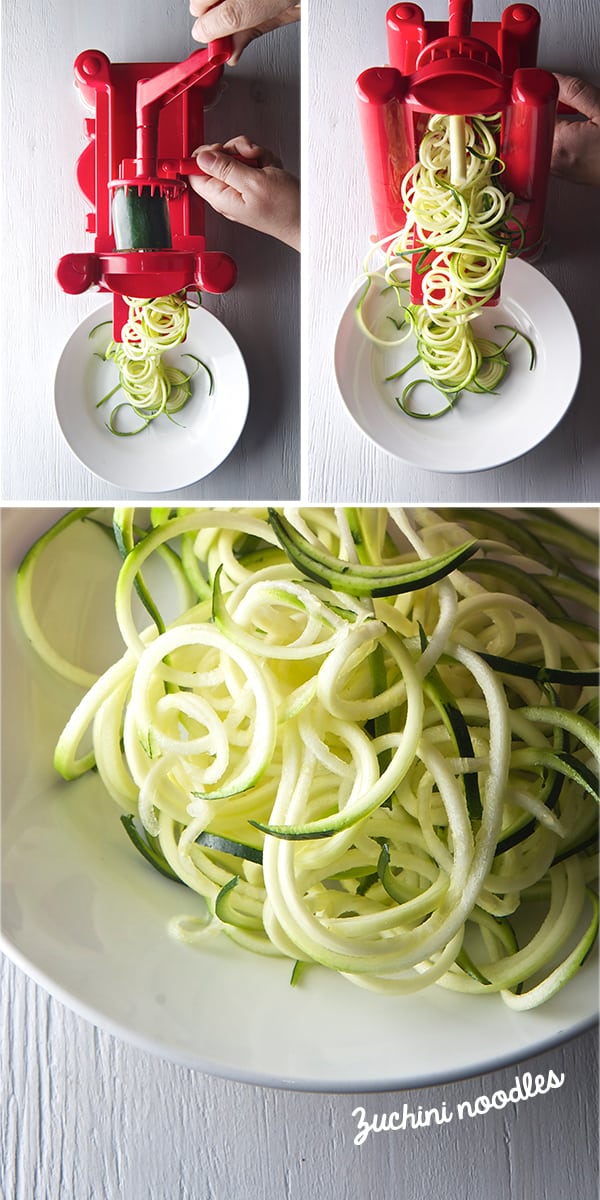
Six ingredients joining one pot, and the fun task of making zucchini noodles. By the way, have you made Zucchini noodles before? It is awesome. This little apparatus called the vegetable spiralizer it is the bomb!. As you know, I’m not very fond of unitaskers in the kitchen, the only uni-tasker gadget I owned and loved was the Julienne peeler, until now. (which by the way you can use if you do not own a spiralizer) This vegetable spiralizer belongs into the FUN category, it transforms any meaty root vegetable or fruit into the most beautiful curly noodles. I’ve used, zucchini, carrots, beets, potatoes, sweet potatoes, butternut squash, cucumbers, rutabagas, green papaya, apples, pears, uff! you name it. It’s really easy to use and clean up. If you have heard of it, yes it is awesome! (No, I’m not getting paid to say this, what you are reading it is my honest opinion, in fact, I did not even buy this beautiful red spiralizer ha! It was a Christmas present from my friend Andrea…Thank you, Drea! I love it! Hehehe.)
So, dear friends, whether you are experiencing a warm or cold Spring; Begin by making this delicious soup and enjoy the Spring ride!
Let’s cook! for the recipe, you will need…
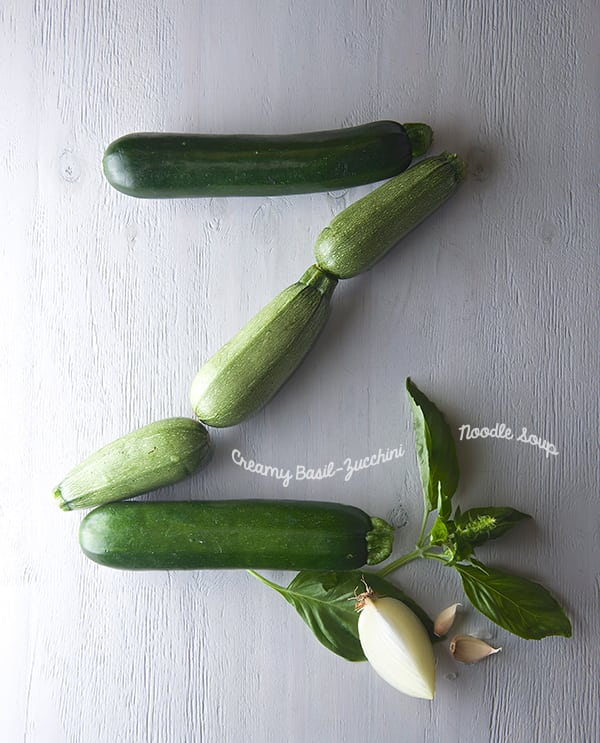
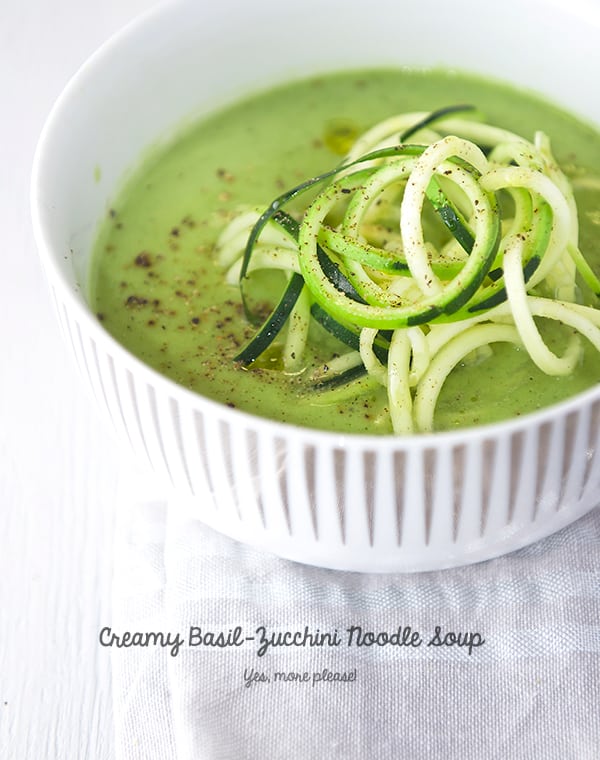
Creamy Basil-Zucchini Noodle Soup
Serves 4
2 lbs. zucchini. I combined half dark green zucchini, half Mexican calabazita aka zucchini. Use what is best available.
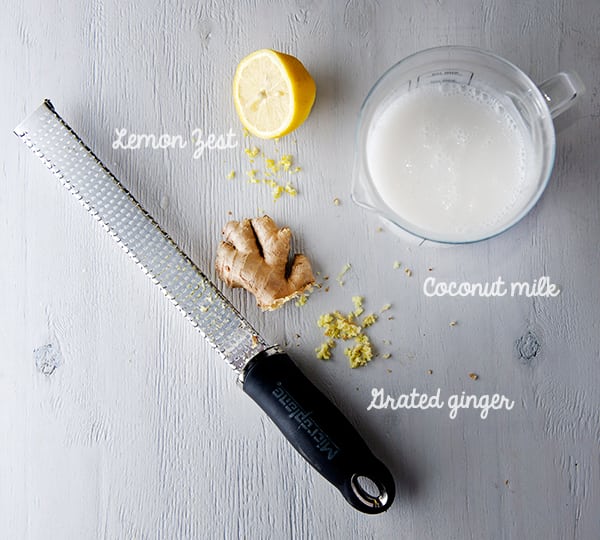
1 -16 oz. can organic coconut cream unsweetened
1/2 small onion
2 garlic clove
6 large, fresh basil leaves
½ teaspoon grated fresh ginger
1/2 teaspoon Lemon Zest
1 teaspoon kosher salt
4-6 Cranks of fresh ground Black Pepper
Preparation:
1. Reserve ½ of a large green zucchini for the raw zucchini noodles. Cut the rest of the zucchini into cubes.
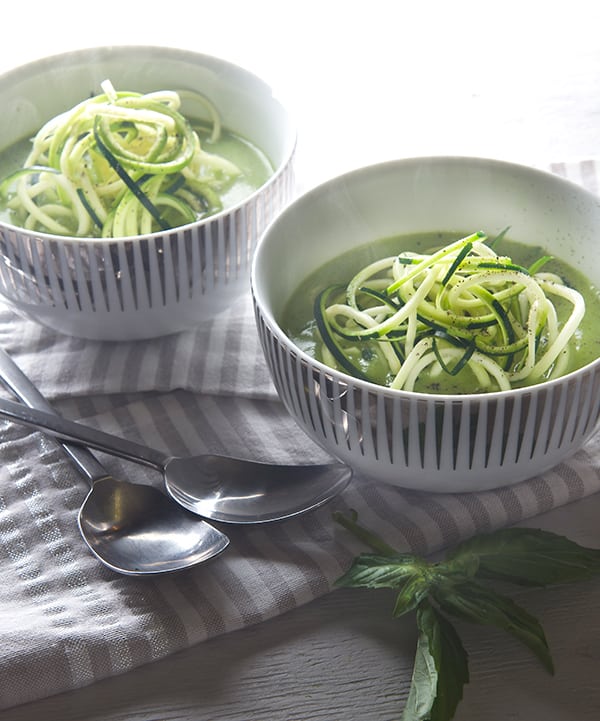
2. Make the zucchini curls following the directions of your spiralizer, or use a Julienne peeler. Set the curls aside.
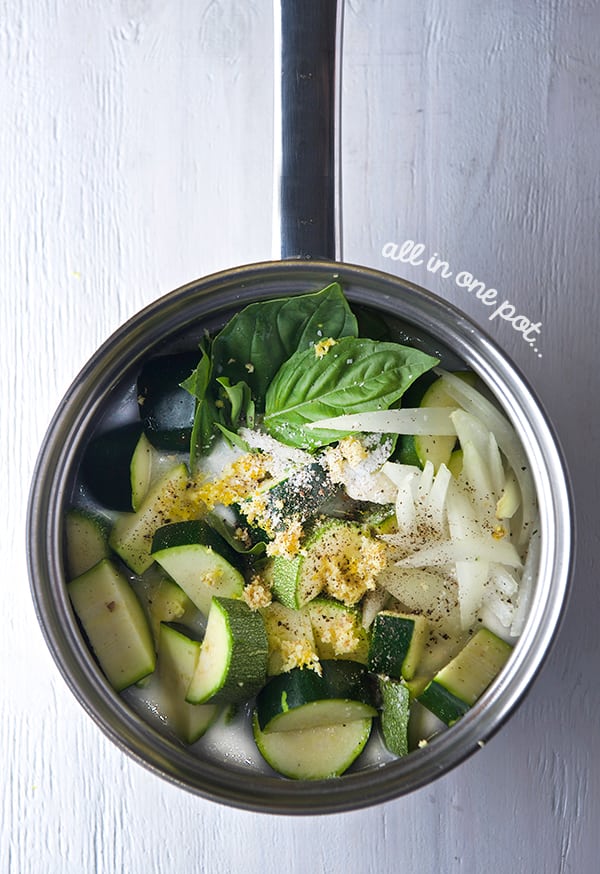
3. In a medium-size pot, add the zucchini cubes and the rest of the ingredients. Cover and bring to a slow simmer, cook for 20 minutes until the zucchini is fork tender but not mushy.
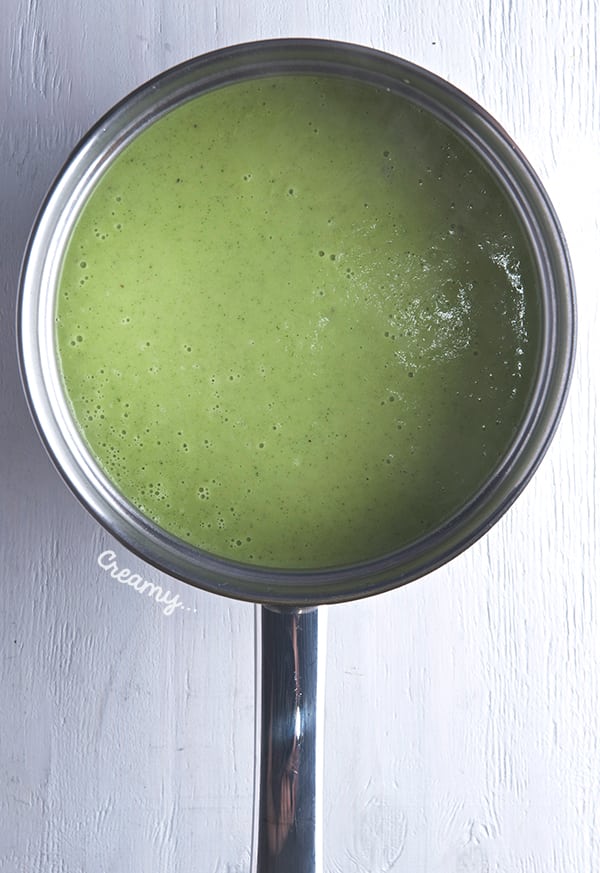
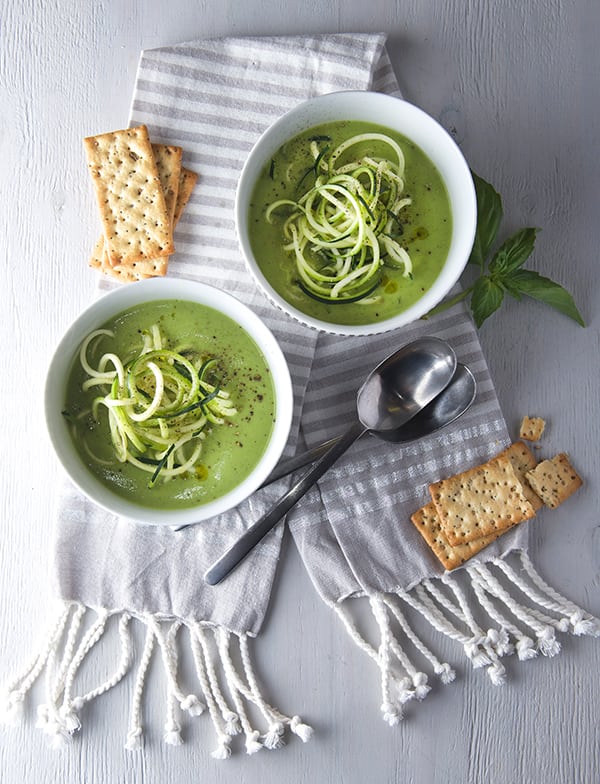
4. With an immersion blender, a blender or food processor, puree until smooth. At this point add a bit of water, or vegetable stock to adjust the soup to your desired thickness. Keep soup warm, and serve a couple of ladles into each bowl, add a handful of the raw zucchini noodles on top. Drizzle a little extra virgin olive oil, sea salt, and fresh black pepper. Enjoy!
Note: You can add little tofu squares, corn kernels, queso panela or mozzarella little squares if you want to make it into a complete lunch or dinner… This soup makes for a fabulous beginning of a meal, for lunch or if you dare for brunch…put an egg on it!
Enjoy!
Music pairing:https://youtu.be/C-1mYXVP1Ok
Creamy Basil-Zucchini Noodle Soup
Ingredients
- 2 lbs. zucchini. I combined half dark green zucchini half Mexican calabazita. Use what is best seasonal available.
- 1 -16 oz. Can Organic unsweetened coconut milk
- 1/2 small onion
- 2 garlic cloves
- 6 large fresh basil leaves
- ½ teaspoon grated fresh ginger
- 1/2 teaspoon Lemon Zest
- 1 teaspoon kosher salt, to taste
- 4-6 Cranks of fresh ground Black Pepper
Instructions
-
Preparation:
-
Reserve ½ of a large green zucchini for the raw zucchini noodles. Cut the rest of the zucchini into cubes.
-
Make the zucchini curls following the directions of your spiralizer, or use a Julienne peeler. Set the curls a side.
-
In a medium-size pot, add the zucchini cubes and the rest of the ingredients. Cover and bring to a slow simmer, cook for 20 minutes until the zucchini is fork tender but not mushy.
-
With an immersion blender, a blender or food processor, pure until smooth. At this point you can add a bit of water, or vegetable stock to adjust the soup to your desired thickness. Taste for salt and pepper and adjust to your taste if necessary.
Keep soup warm, serve a couple of ladles into each bowl, add a handful of the raw zucchini noodles on top. Drizzle a little extra virgin olive oil, sea salt and freshly ground black pepper. Enjoy!
Recipe Notes
Note: You can add little tofu squares, corn kernels, queso panela or mozzarella little squares if you want to make it into a complete lunch or dinner… This soup makes for a fabulous beginning of a meal, for lunch or if you dare for brunch…put an egg on it!


