Calling all the brave spicy souls! Are you there? … If you are one of them, keep reading because your ride to spicy heaven is here. Deviled Shrimp Camarones a la Diabla!
Why “a La Diabla” well because this recipe is *SPICY*, as in ~shzsshzzsshz~ that noise that your mouth makes when your mouth salivates, when your tongue tingle and sweats and you have rosy checks and almost start cursing HELL YES! Spicy shrimp It is a pleasurable torture… are you still with me?
This is a classic Mexican seafood dish. Where does it come from? Nobody knows. I’ve been Mexican all my life ~hehe~ and I do not know the origin of this dish. Go figure!. What I do know is that you can find Camarones a La Diabla on any menu of a seafront restaurant all along the coastal perimeter of the Mexican Republic. There are some rumors about the origin of this recipe comes from Sinaloa but it’s not unanimously agreed upon. Anyway, we Mexicans love any kind of spicy pledge.
In this recipe you are your own executioner as we say in Mexico. You “punish yourself” with the amount of spiciness you add. This recipe is for brave people, unless you want to end up eating tomato garlic sauce. Be brave-Be bold.
I balanced the spice by adding some orange juice to give a citrus background note and a more pleasurable spicy flavor. If you follow the recipe as it is written you will end up with spicy shrimp that makes you want more without being overwhelmed in fire. (I am brave, but I don’t want Ian to have a spicy comma, he almost has a Mexican palette when it comes to spicy foods…but still there’s some homework to do).
This recipe is one of my Mom’s favorite ~hi Mom!~ thinking of her wishing she was here on Mothers Day, sending her all the visual and shrimp love I can. This is for you Yoli!
She is one of the bravest women I know, I admire her and love her dearly. And oh my! spicy as she can be!..And sometimes like all Moms, a pleasurable torture!
I just love you so much shorty! Thank you for being such an awesome Lady, Happy Mother’s Day to all the spicy Moms out there.
Thinking of you Yoli…Enjoy!
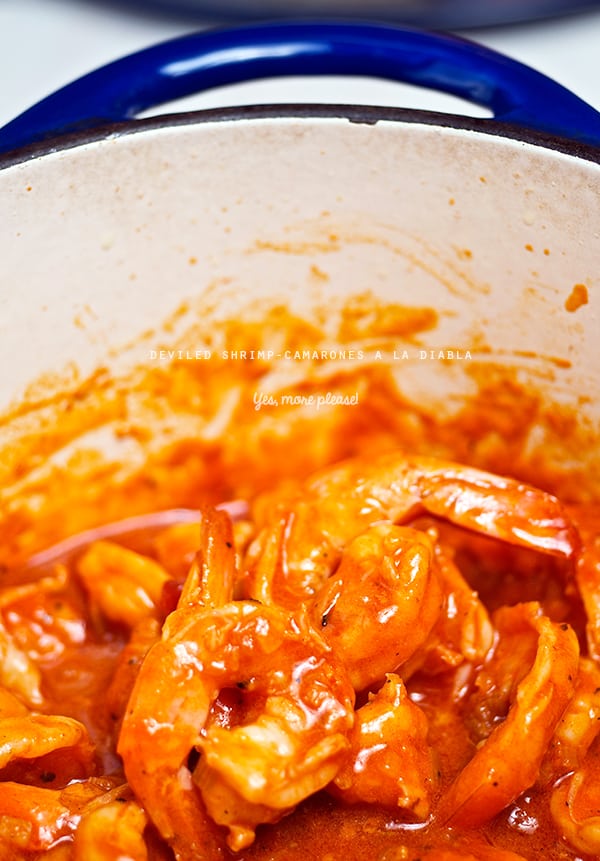
Deviled Shrimp Camarones a la Diabla
Serves 4 spicy brave souls
2 lbs. Medium size Shrimp. I used Gulf shrimp, skin off, tale on and deveined.
6 tablespoons of butter
1 good glug of extra virgin olive oil
½ cup white onion finely diced
8-10 garlic cloves finely chopped
¼ cup tomato paste
1/2- ¾ cup freshly squeeze orange juice (approx 1 large juicy sweet orange, if your orange is to sweet, please add 1 teaspoon of white or rice vinegar)
1 teaspoon orange zest.
½ cup Cholula sauce
¼ cup Valentina or Huichol hot sauce
2 chiles chipotles in adobo sauce pureed
(you can buy the 2 oz little cans they work great for this recipe)
Salt and black pepper to taste.
* If you are not feeling so brave, reduce the Cholula sauce by half, omit the Valentina hot sauce, and use just one chipotle.
For the Garlic- Butter Rice:
White garlic rice
Serves 4 or 2 sailors.
1 cup white rice
2 tablespoons butter
1 glug of extra virgin olive oil
2 large garlic cloves cut in halves
1 bay leaf
1 teaspoon salt
2 cups chicken stock or water
Preparation method:
In a medium size pot over medium heat melt butter and oil, add the rice, garlic cloves and bay leaf.
Stir constantly until the rice is to slightly toasted, (it will turn off white slightly golden) see picture below.
Add the 2 cups of water. Cover the pot with a lid until the water rich to a rolling boil.
At this point-set the temperature to low with the lid on. (my advise for good rice, do not look at it do not stir it, do not keep poking it or removing the lid. Rice is a lonely cooker. He likes to bloom in private. So set your timer at 20 minutes and go and peel the shrimp… hehehe)

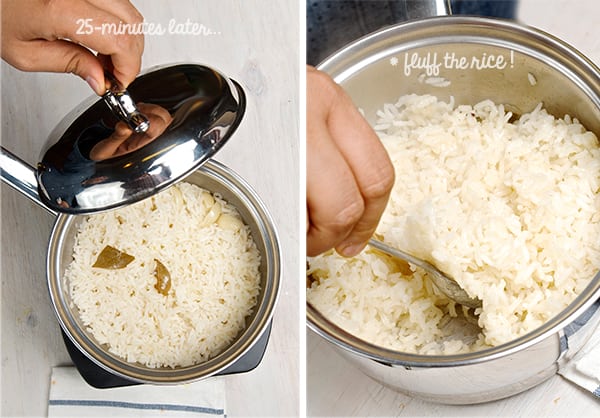
* 25 min. later…Check your rice. Has the timer gone of? When it does just taste a little bit for doneness and make sure all the water has evaporated. If not give it 5 more minutes, then turn off the heat and leave the rice covered on the stove to keep it warm. Once you are ready to serve it, with a fork, please fluff the rice. It makes it airy and light…
Let’s talk about shrimp…
Skin on or skin of /head on head of.. that’s the dilemma!…
Is totally up to you! You are in charge of this decision. It’s up to which mood are you and flavor profile. Head on is a delicacy! makes the sauce a bit creamier and intense sea flavor. Also and most important, the shrimp skins add tons off flavor to the sauce.With this said, not a lot of people likes this shrimp intensity and the heads can be a bit intimidating, those big black shrimpy eyes looking at you, bring the sun glasses please!…In my opinion, I find skin on is fun and messy, a whole different adventure. But again my friend, you decide on your mood an make your call.
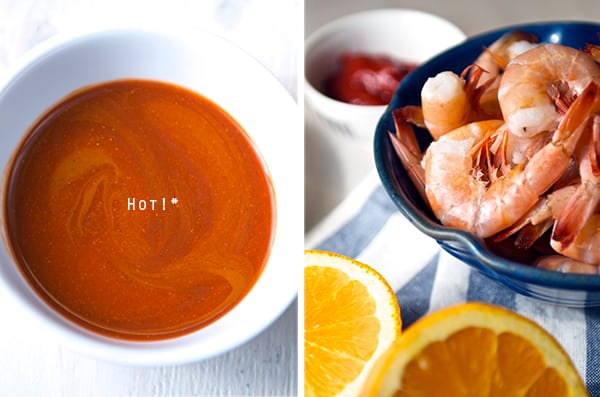
This time I choose skin off and head off (since this recipe is thinking of you mom, I know this is the way you like them!)…so while my rice is cooking I started by peeling the shrimp.
I leave the tales on they look so good and devein them with a little pairing knife run it onto the back of the shrimp and remove the black vein under the running water.
Cooking the shrimp:
1. In a heavy bottom pot, over medium heat melt the butter, add a glug of extra virgin olive oil. Once the butter is bubbling add the finely chopped onions and garlic. Saute for 3-4 minutes until a bit translucent.
Add shrimp and cook for about 3-4 minutes until they start to curl but still look a bit translucent. At this point take out the shrimp into a bowl, set a side.
2.At this point you will have some butter, olive oil, garlic, onions and some shrimp juices in the pot. Add the tomato paste cook for 1-2 minutes. Add the Orange juice, the zest and all the chilli sauces. Mix until well combined. Cook for 3-4 minutes, adjust for salt and black pepper. Taste for acidity. If is to sweet add a bit of vinegar. If is to spicy you are on the right track. this is the moment to adjust the sauce.
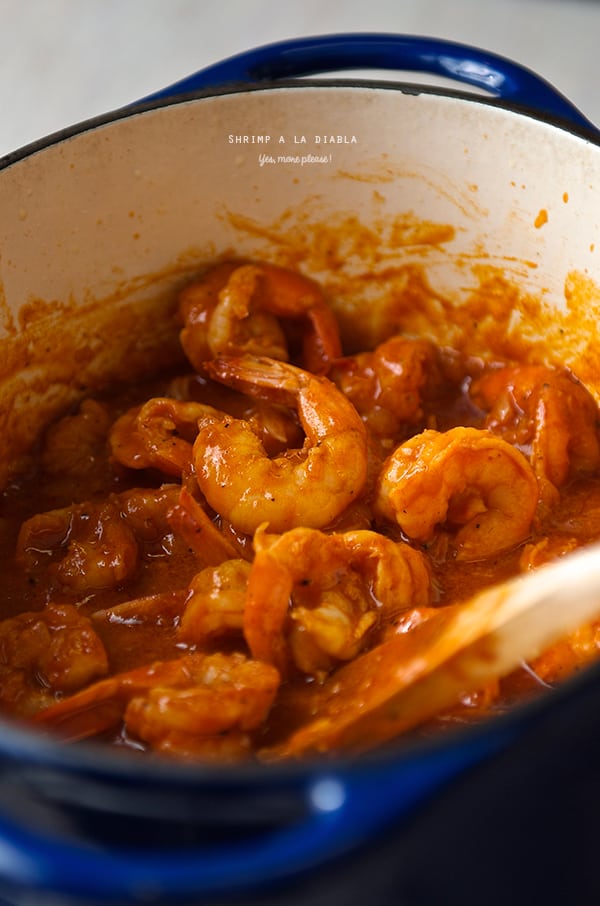
3. Add the shrimp to the sauce, until well combined and toss and cook for another 2-3 minutes. It really does not take longer for shrimp to cook, you do not want over cook, pasty, grainy shrimp…yikes!, so watch out!.
I which you could smell this … insanely good, butter, garlic, spices, uff!
(Where are you Mom???!!!)
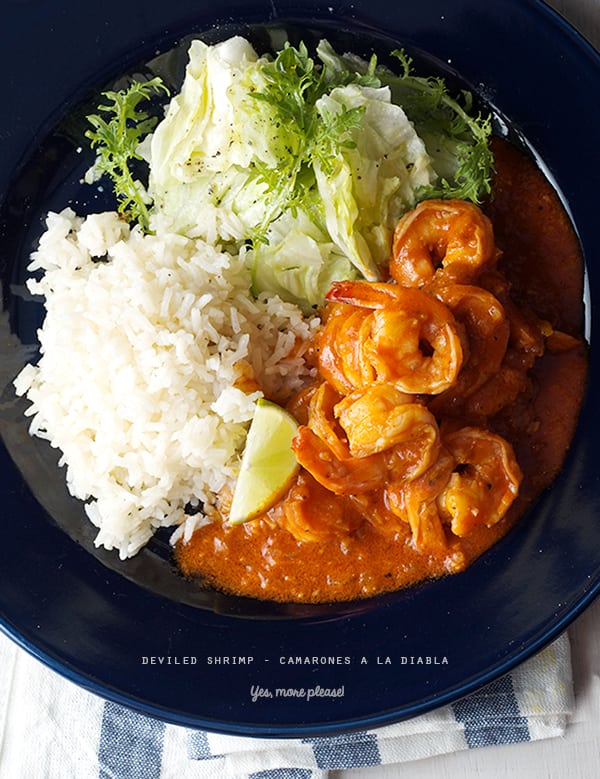
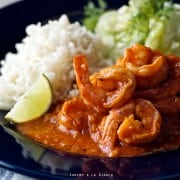
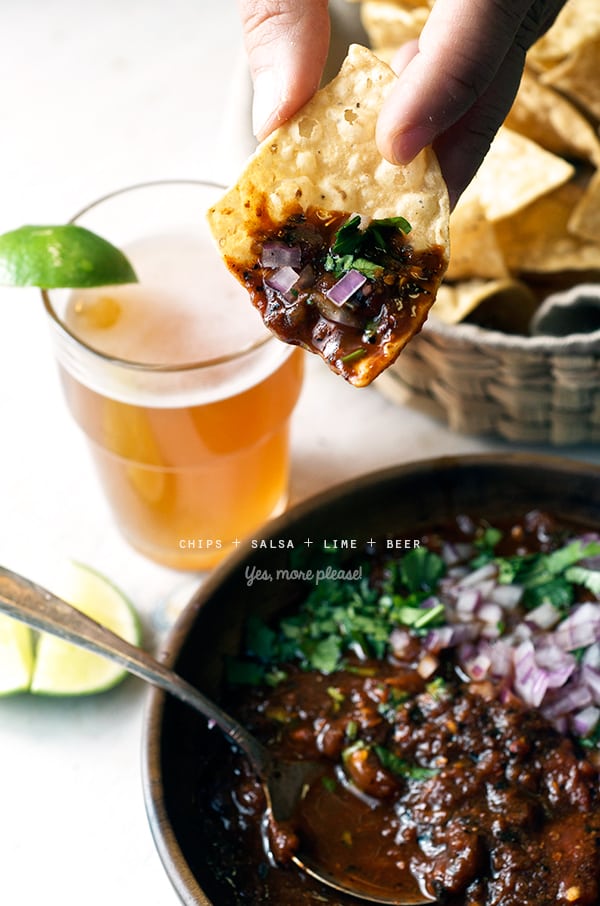
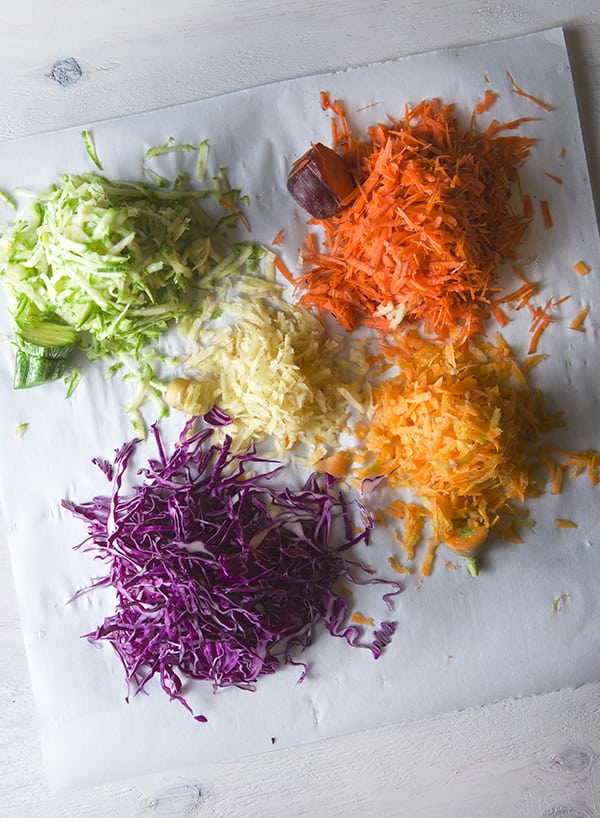
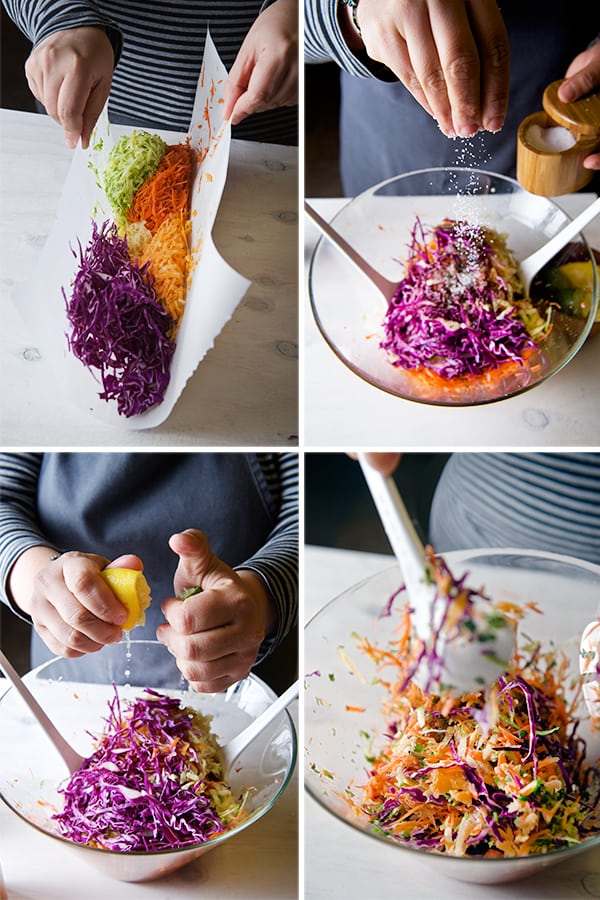
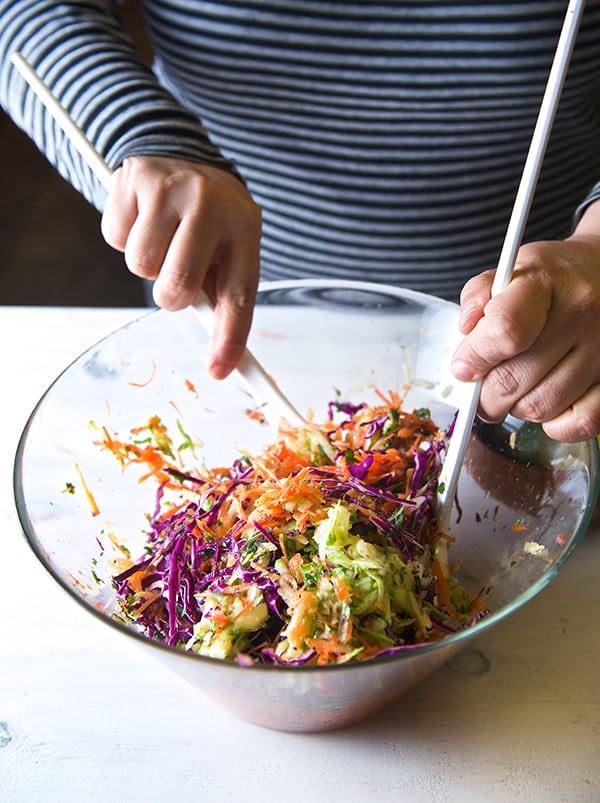
Time to Eat!, serve a generous amount of rice and your shrimp a la diabla on the side with
enough sauce to cover them, a green salad with a simple dressed with lemon salt and olive oil.
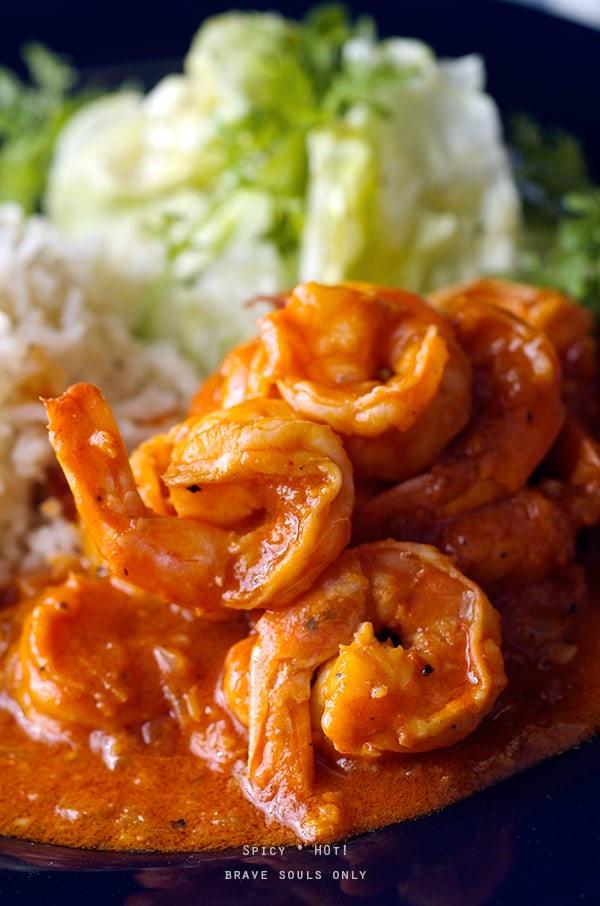
Be brave ~Shhz ha, Sshz ha shhzzha~ Enjoy!
Cooking Music Paring: Peggy Lee-Fever
https://youtu.be/X7_k_0dKknA
Deviled Shrimp Camarones a la Diabla
A dreamy spicy shrimp, serve with fluffy garlic rice, and a green refreshing salad.
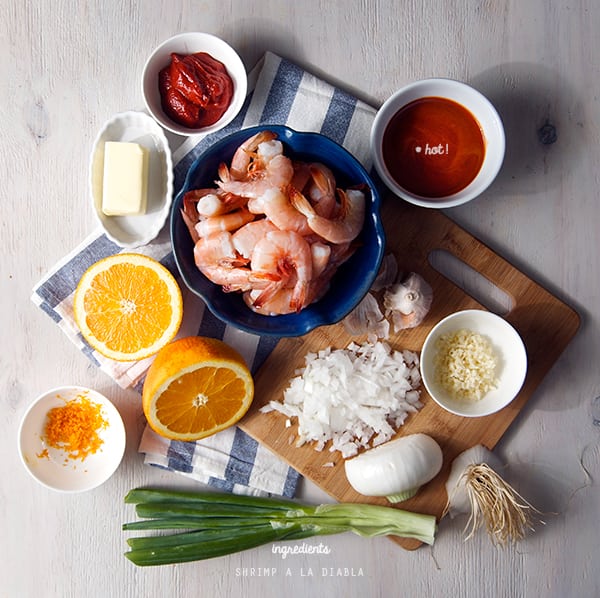
Ingredients
- 2 lbs. medium size Shrimp, I used Gulf shrimp, skin off, tale on and deveined.
- 6 tablespoons Butter
- 1 glug Extra Virgin Olive Oil
- 1/2 cup white onion, diced
- 8 large garlic cloves, finely choped
- 1/4 cup tomato paste
- 1/2 cup Cholula hot sauce*
- 1/4 cup Valentina or Huichol hot sauce
- 2 chiles chipotles in adobo sauce pureed, you can buy the 2 oz little cans they work great for this recipe
- 1/2 -3/4 cup freshly squeeze orange juice, about 1 large juicy orange, if your orange is too sweet add 1 teaspoon of vinegar.
- 1 teaspoon orange zezt
- 1 teaspoon sea salt, to taste
- 1/4 teaspoon fresh black pepper, to taste
For the garlic-butter-rice:
- 1 cup long grain rice
- 2 tablespoons butter
- 1 tablespoon extra virgin olive oil
- 2-4 large garlic cloves, cut in halves
- 1 medium bay leaf
- 1 teaspoon salt
- 2 cups chicken stock, or water
Instructions
-
Prepare the Rice:
1. In a medium size pot over medium heat melt butter and oil, add the rice, garlic cloves and bay leaf. Stir constantly until the rice is to slightly toasted, it will turn off white slightly golden.
2. Add the 2 cups of water. Cover the pot with a lid until the water rich to a rolling boil. At this point-set the temperature to low with the lid on. (my advise for good rice, do not look at it do not stir it, do not keep poking it or removing the lid. Rice is a lonely cooker. He likes to bloom in private. So set your timer at 20 minutes and go and peel the shrimp… hehehe)
* 25 min. later…Check your rice. Has the timer gone of? When it does just taste a little bit for doneness and make sure all the water has evaporated. If not give it 5 more minutes, then turn off the heat and leave the rice covered on the stove to keep it warm. Once you are ready to serve it, with a fork, please fluff the rice. It makes it airy and light…
Cooking the shrimp:
1. In a heavy bottom pot, over medium heat melt the butter, add a glug of extra virgin olive oil. Once the butter is bubbling add the finely chopped onions and garlic. Saute for 3-4 minutes until a bit translucent.
2. Add shrimp and cook for about 3-4 minutes until they start to curl but still look a bit translucent. At this point take out the shrimp into a bowl, set a side.
3. At this point you will have some butter, olive oil, garlic, onions and some shrimp juices in the pot. Add the tomato paste cook for 1-2 minutes. Add the Orange juice, the zest and the chilli sauce. Mix until well combined. Cook for 3-4 minutes, adjust for salt and black pepper. Taste for acidity. If is to sweet add a bit of vinegar. If is to spicy you are on the right track. this is the moment to adjust the sauce.
4. Add the shrimp to the sauce, until well combined and toss and cook for another 2-3 minutes. It really does not take longer for shrimp to cook, you do not want over cook, pasty, grainy shrimp…yikes, so watch out!. Enjoy!


 I’m in love with the chickens from Smith & Smith Farms, it is a small family operated farm, they specialize in pasture raised meats that are hormone and antibiotic free. They raise Dorper Lambs, all different breeds of laying hens, Cornish Rock meat chickens, Red wattle hogs, and Broad Breasted White Turkeys. All of the animals on their farm are free range and roam around every where! They are all as happy as can be, and you can taste the happines when you cook them. Delicious!


