The tradition of celebrating Day of the Dead dates from Pre-Columbian times, when the natives of Mexico focused a great deal on the manner in which someone died and rituals were created to commune with the dead and deities from those ancient times. As often happens when two cultures meet, the Spaniards combined the native rituals with their own beliefs which produced a festival that assimilated the ideology, religion, art, agriculture and all the ingredients of the existing culture and resulted in our modern “Dia de los Muertos”.
In 2003 The Day of the Dead, was named by UNESCO as a patrimony intangible of humanity. It is a symbol of Mexico’s cult to the dead and the fascination for the unknown. It is a remembrance of life and the necessity to keep our bounds that seem so impossible to achieve and maintain when our loved ones depart. It is of great importance to remember and maintain these traditions of a rich and colorful culture. Mexico has a lot of good traditions to share with the world…
In Mexico, Day of the Dead is celebrated over three days starting October 31st. November 1 day of all saints, and November 2nd day of all souls. We celebrate the people who departed in hope that they might come back and visit to celebrate with us. And if they are coming all the way from a different dimension we better have some feast worth the trip!
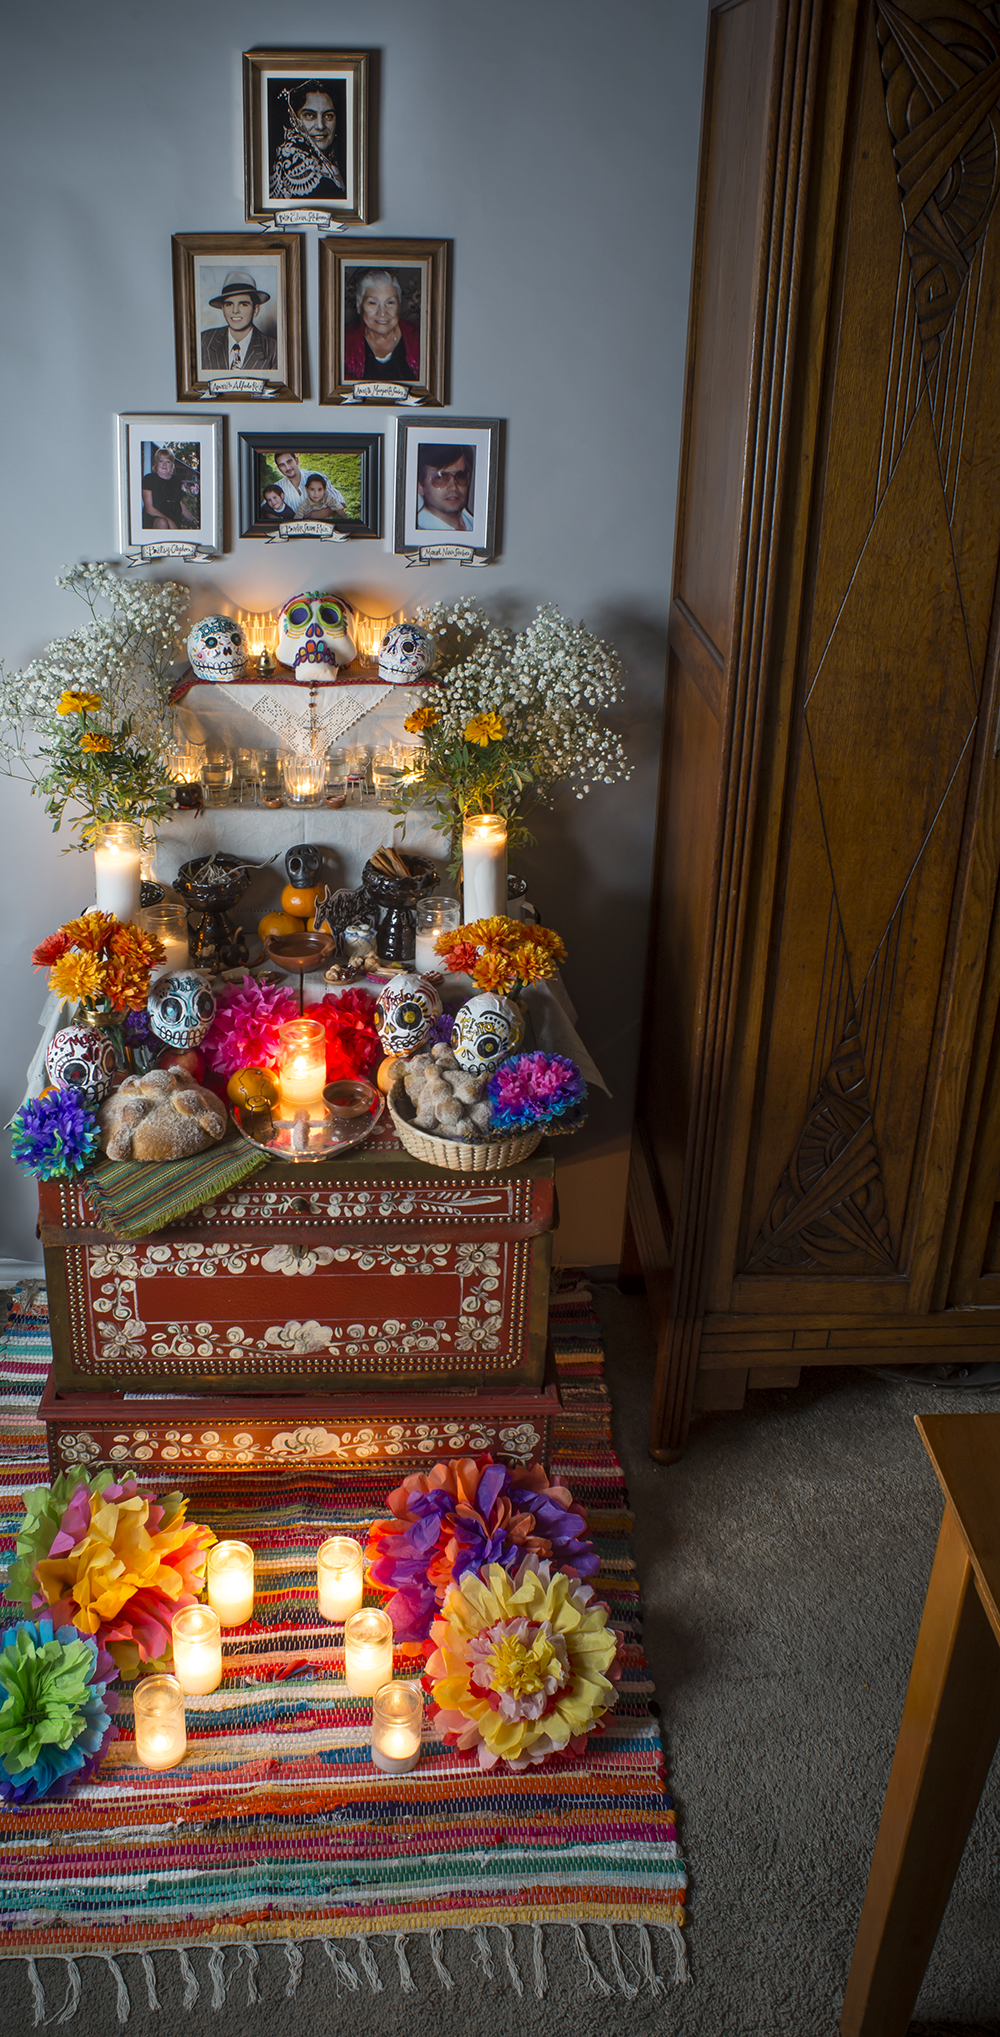
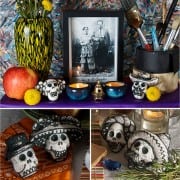
Family altars are decorated with the remembered ones’ favorite foods, photographs, possessions,sugar skulls, drinks and flowers. Candles are placed to illuminate the way for a safe journey back home. This phenomenon it is assimilated with respect and irony, defying the dead as they laugh about her. With a sarcastic bitter-sweet humor Mexicans celebrate the ones that are no longer with us but with the biggest respect they built altars to commemorate them singing, drinking and praying. Now a days people also makes altars for their Favourite historical characters, artist, singers, anybody who means or have influenced in some way your life, or that you just simple admire.
Our family altar
This year our altar is dedicated to our family. Starting at the top, my great grandma Elvira Soto Herrera, my mother’s grandma. A beautiful and strong lady she was born in Jalapa, Veracruz and became a widower at early aged. She was a strong, honest and intelligent woman who educated and supported her five children with an exemplary motherly courage. One of her looks with those incredible eyes and you knew what she meant. She always used to received me with a big smile and tell me “Como está Mi Reina?” showering me with hugs and kisses. Her flour tortillas were legendary, as well as her refried beans with her not so secret ingredient lard! and her unique sazón. She just needed to make one phone call: “Im making tortillas” and the whole family would be there in a flash. Her white stove was a beautiful workhorse in her kitchen.
She loved to spend time with her canary birds that will warmly sing back at her, it was a remarkable symbiosis I was fortunate enough to presence. She faithfully blamed Noxema for her flawless skin. Her lavender eyes where unique and they will turn periwinkle or aqua green upon the color the garment she was wearing. Im almost sure that Bisa Elvira’s –they way I used to call her a short for Bisabuela– happiness and good appetite was do to the little bottle of Tabasco sauce she always carried on her handbag, always prepared to eradicate blandness. She worked at a flower shop until her late eighties, by conviction. She had a beautiful laugh and had a great sense of humor. I miss her and remember her dearly.
The next photo frame, the gentleman in the fedora hat is my grandpa Alfredo Ruiz Sandoval my mom’s father aka Tito Alfredo. He was born in Yahualica, Jalisco. At a young age he defied his family prohibition of becoming a bullfighter and with all his courage, his first “corrida de toros” was a success until his father pulled him out of the ring plaza in the middle of a bullfight, he had to fight a bigger bull. After his bullfighting dreams crashed, he travel to the North of the country and studied and work in USA. A few years later he become a successful merchant and restauranteur. For me its clear that Tito Alfredo, was a bullfighter by heart and although he never became bullfighter in real life, he always showed all his courage in each life faena by always helping and supporting his family, Ole Matador! I know he must be “Toreando Estrellas”.
Beside Tito Alfredo is Margarita Sanchez Guzmán my Grandma Margarita, my dad’s mother from whom I learned my love for cooking. This tall, strong and beautiful Lady from Ciudad Guzmán, Jalisco also became a widower at a young age, she managed to support her seven children by herself through cooking for other families. Although I always remember being with her in the kitchen or going with her to el mercado, one of my favorite downtimes with her was listening to her old records of “Los Churumbeles de España” and Juan Lejido. We would seat at the sofa with a photo album and she would tell me stories about her dancing with my grandpa along her favorite song “El Beso”. Since I did not met my grandpa Guillermo, these stories were music to my ears. I will close my eyes and imagine them dancing.
With no doubt some of my happiest memories and moments with my Abuelita Mago were lived in her little kitchen. From my first given task in the kitchen: shelling peas to the magic moment when she taught me how to drive the “tejolote-pestle” in the molcajete and I made my first salsa martajada. Aromas, flavors, textures, craft, laughs, all the love she put in her cooking was nurturing me at a time when I needed the most. Her company and caring always will be with me. Thank you Abuelita Mago aka “bolita” how we the grandchildren used to call her for a short of Abuelita.
The first picture of the last portrait row, is Betsy Cleghorn-McEnroe, Ians’ mother. This beautiful Lady was born in a small town in Michigan. Betsy raised her four children out in the country. She had a gardener soul, learn how to grew corn, potatoes, zucchinis, green beans, strawberries, and all sort of vegetables to feed her kids. Quilter extraordinaire, loved to cook, craft, an insightful soul, funny and loving person. Every time we spoked with her on the phone we were left with a delightful peaceful feeling. She truly cared, she listen and gave you the most surprising advice, facts and interesting feedback. I have not ever met somebody that loved Christmas more than her. She would go crazy with the decor, dinner and presents.
Her Christmas trade mark:”the thrift shop present”. She will give the most funny-obsolete-thoughtful presents that made you believe you were born to own that funky object. Once you opened the present for some strange reason you were stroked by a feeling and inner voice that said: “you have been wanting this for so long, I just didn’t know it!”. Later in the year seeing that present hanging in the closet or on a shelf, will produce an spontaneous burst of laugh that will hug you. We miss Betsy dearly, and every year we remember her departure on her favorite day on Christmas Eve. We will always love you Betsy.
The following photo is my dear cousin Badir Saleme Ruiz aka “Dirba di-du” the nickname I used to call him by. This young gentleman was born in Guadalajara, Jalisco, Had the most beautiful green eyes I’ve ever seen!, along with a humble heart. Smart, intelligent and always willing to help. At a young age his ingenious nature led him to disassemble a whole radio and re-assemble it back again. Then he kind of did the same with every electro domestic object around his home. Later, intuitively he concocted a stereo-computer-monitor to function into a TV with a stereo sound. He also motorized his bike around, just genius! He would call me Mananiux, and fixed my hairdryer every time it burned out, until he figured out some sort of device added to the electrical components and fixed for good. That hair dryer last me about 12 more years!.
Dirba loved arroz con leche, enfrijoladas, quesadillas and carne asada with extra chard, grilled cebollitas and a good michelada. Dirba left us early, he was young, many more things to fix, circuits to create and left us all with his sincere smile. Thank you Dirba Didu for being so humble and generous. I miss you. Im preparing you arroz con leche, stop by!
Last frame in this altar is Manuel Nuño Sánchez, my father. He was born in Guadalajara Jalisco, a rebellious and curious soul. A loving person, that gave all his efforts always beyond his best. From him I learned to be extremely curious. To handle any homework or task I was given with extreme importance and abandon. From little school projects taking them to unimaginable heights to life attitude.
I particulary remember a time when I was in 3rd grade and we where asked to bring a model or a maquette representing the Discovery of America. Huge task for a 3rd grader. He took it to heart and made me read all about the history and asked me what impressed me the most? “I Said the Carabelas-Caravels” So he glanced at me and next day he brought home tree small scale assembling caravel model boats of Columbus caravans: La Niña, La Pinta y La Santa María. He taught me how to assemble them and we painted each piece and glued every single detail, we basted every cloth sail of each ship and assemble the maquette. It was a masterful class of dedication, patience and perseverance. Beyond belief. Almost no body believed I had made that. Teacher had to speak to him. So there is my first lesson of how to handle a task at every level. He had the best sense of humor, and made me laugh with his funny jokes. Sometimes we would laugh so much that our stomach hurt, just about simple little things.
My father was a free soul, he loved to read, eat and he loved fresh fruit. When mandarins were in season he would buy 5-8 kg and we used to seat down on the roof top or at a park and eat them all! We used to eat tomatoes sliced with a squeeze of lime juice, sea salt and Valentina and eat them with abandon. Freshly squeezed juices beets, carrots, apples, spinach you named it. Tacos, tortas de queso fresco, my grandmas pozole Blanco and Mole were some of his favorite meals. He liked to listen to Carmina Burana and Gregorian Chants. He made lamps out of old instruments like trumpets and horns. But most important of all, He wanted me to learn how to be daring, to be-my-free-self, he gave me wings. I remember him and miss him more often than I should.
Food Offerings
This year, we are treating our souls guest with this altar. We will receive them at the fist hour of November 2nd at midnight, I will set the food offerings November 1st around 10 pm and with for them to arrive. We will take a second photo and a video to incorporate in this post to include the food and how is placed in the altar.
The menu for the offerings will be: For my Bisa Elvira, her favorite food was mole poblano and “asado mazatleco”. This year Im making mole for her. For my Tito Alfredo his favorite food caldo de pollo or res (chicken or beef stock Mexican style, Birria or mole. This year Im making Mole Poblano for him as well.
My grandma Mago loved Frijolitos de la olla /Beans from the pot and a good molcajete salsa, so Im making a good bean pot for her to receive her. Betsy loved fish. so Im preparing cod with butter-lemon caper sauce and corn cob on the side. She also had a sweet tooth and Im sure she will love a piece of pan de Puerto with a cup of hot cocoa. For Dirba, Im making arroz con leche and some burritos of machaca-dried meat-and a cold beer. And for my father Im making tortilla soup, and planning on eating tons of mandarinas.
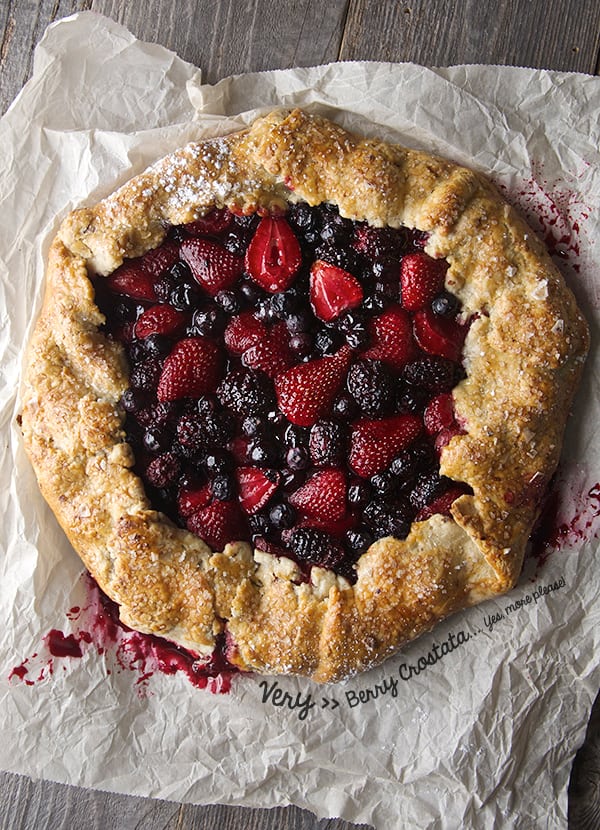
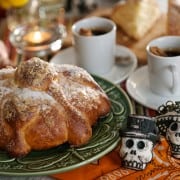
For all of them and for us I’m making Pan de Muerto, since its one of the most important elements that can not be missed on an altar. This bread resembles a skull with bones and represent each soul in transit. Im sharing with you this link with my recipe for Pan de Muerto.
On November second Day of the Dead we will celebrate with our departed we will have diner with them,
set up the food offerings and enjoy Pan de Muerto with a cup of hot cocoa.
As we warm and sweeten up the memories of the ones that are no longer with us.
It is a good excuse to make this delightful bread and maybe…
acquire a new family and tasty tradition…
Music is always a must when we are remembering, waiting and celebrating with our departed family.
Who better than Chavela Vargas to make the waiting more pleasant for our departed. I hope you enjoy it.
This song “Las simples cosas” The simple things, talks about the important things in life, about love and time…
The next song “El último trago” The last drink, is about saying goodbye to a loved one…


