What makes a sandwich great? The bread, the mustard, meat, or cheese? There are all kind of protagonist components that contribute to such a production. But, how about the supporting cast? Potato chips, salads and “the pickle” that green creature on the side of the plate almost invisible and that after the 3 bite of your sandwich you start looking for it.. where is it? Under the waxy paper? Far away in the refrigerator, last shelf oops! We are out of pickles! Suddenly you are missing him badly… If the word sandwich had an accent or a semicolon it will definitely be the “pickle”.
That’s what this recipe is all about, the supporting cast. That accent of a meal, sandwich, sea food, any fried concoction, needs a balance of a crunchy salty acidic note to spice up your meal.
Escabeche is one of hundreds of pickled recipes the Spaniards introduced to Mexico after having borrowed them from the Arabs and Persians. It has many different variations. In Mexico it is more commonly served with seafood, fish, or pork. And yes, the well known street food “the torta”(which is the equivalent of the american sandwich) that is almost always accompanied by the well-known infamous pickled jalapeño that comes with carrots and onions.
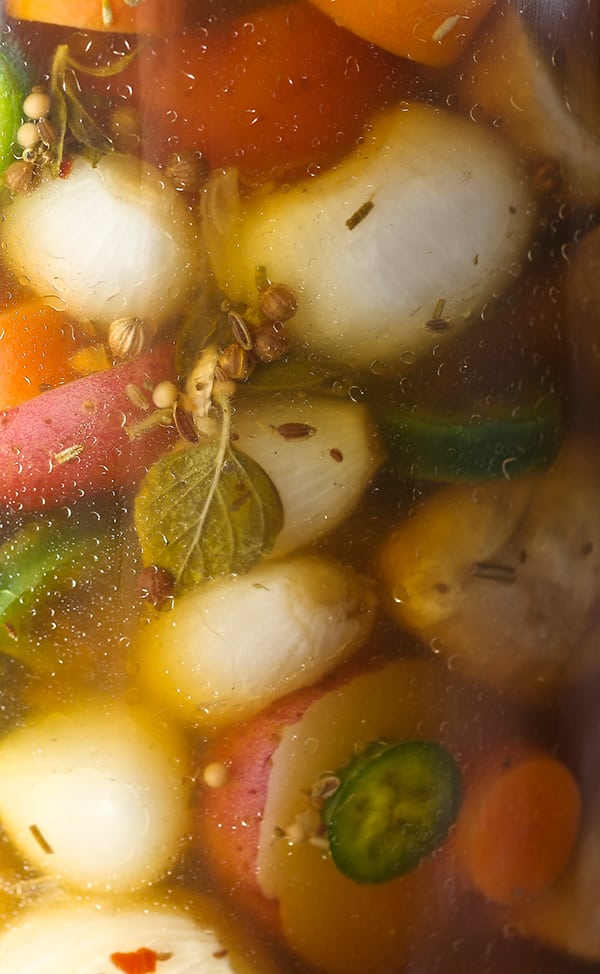
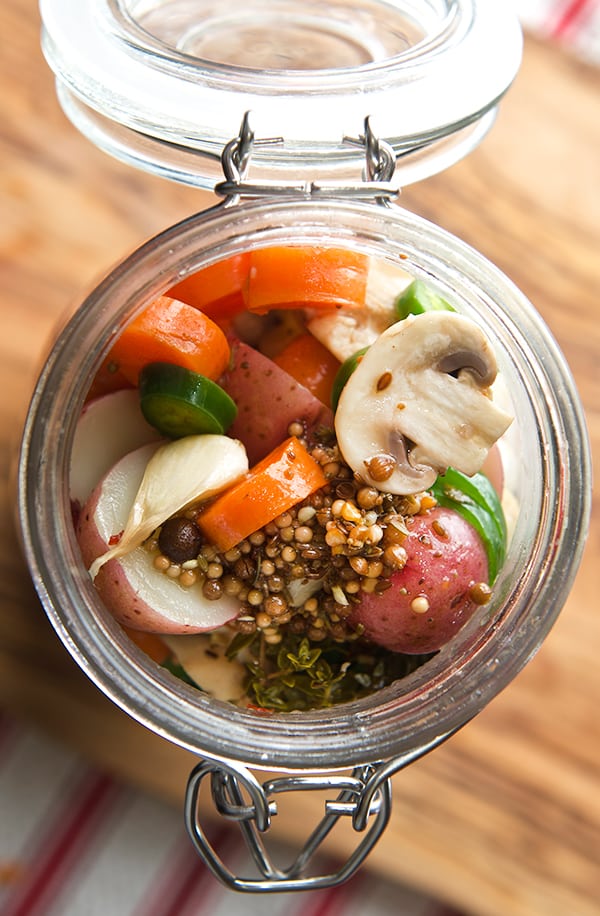
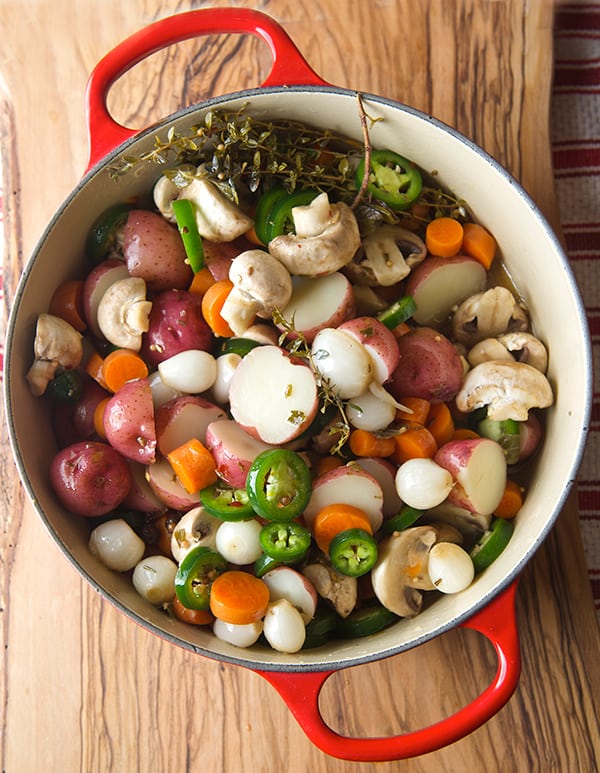
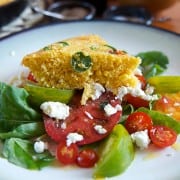
This Escabeche vegetable medley recipe is all the “supporting cast” I desire when I’m eating a sandwich: potatoes, pearl onions, mushrooms, carrots and jalapeños. Sweet, starchy, crunchy, spicy mix all marinated in a tangy spiced slightly sweet vinegar. And please don’t limit your self this cast; okra, cauliflower, green beans, can be included…what ever rocks your boat. You can serve this over a bed of spinach and Romaine lettuce combining the vinegar with some extra virgin olive oil for a vinaigrette as a first course salad. Or as a simple informal appetizer with a beer on the side. You can marinate some cooked shrimp, a side for fried fish… I can go on and on…
Now, this is a refrigerator pickling method and its best to let it marinate over night. It will last in the refrigerator for about 3-4 weeks (if you are a self controlled person); Because for me every time I open the refrigerator my saliva glands start to contract my mouth waters, my tong shrinks just by looking at them, and before I know I have a fork in my hand to snack on them… so let’s get started…
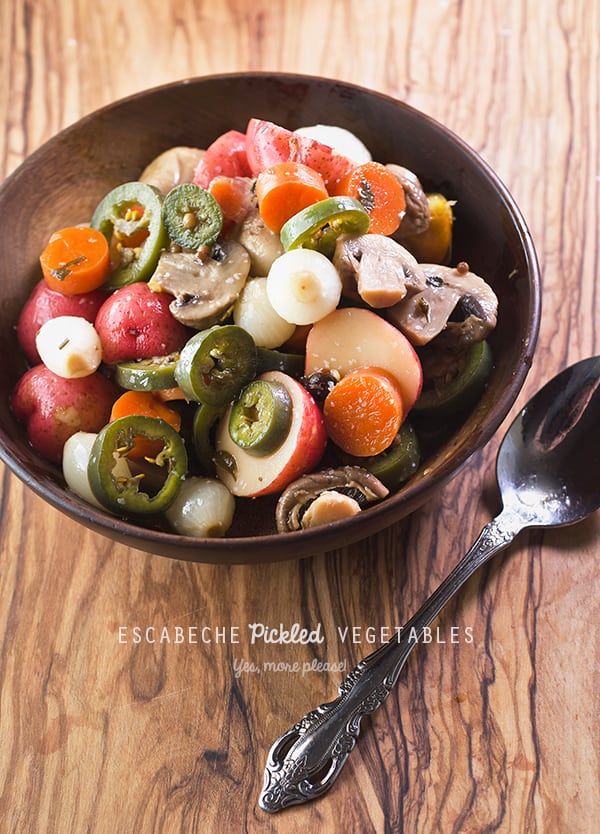
Escabeche Pickled Vegetables
Makes about 6 -8oz jars or 1 large 48oz jar.
1 lb. little red new potatoes cut in halves and cook al-dente.
4-6 carrots cut in ¼” thick round slices, blanched and drain.
1 lb. button white mushrooms or cremini cut in halves
1 lb. white pearl onions, peeled and halve the larger ones.
6-8 Fresh jalapeños cut into 1/4” round slices
Cauliflower florets, green beans, can also be added to this vegetable escabeche. The proportions between chiles and vegetables is up to you, just consider that the more chiles the more spicy the vegetables will be.
For the pickling brine:
1/3 cup Sun flower, or Grape seed oil or any mild flavor oil
1 cup of Apple Cider vinegar or Rice vinegar.
1 cup of distill Vinegar
1 -1/2 cups of water
4 garlic cloves
4 Bay leafs
4 sprigs fresh Thyme or 1/2 teaspoon dry thyme
2 sprigs fresh Oregano or 1/2 teaspoon dry Oregano
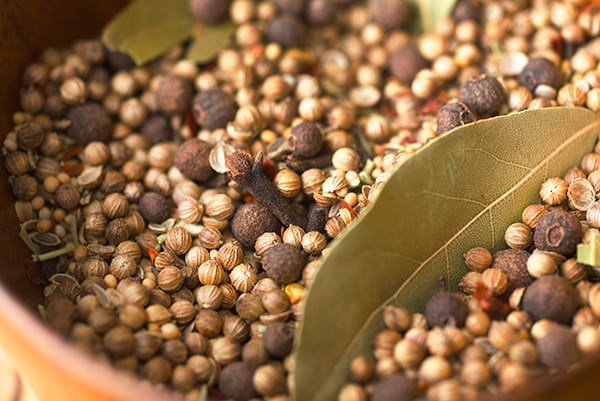
1 teaspoon black peppercorns.
3 Tablespoons of pickling spices
1/4 cup of turbinado sugar or white sugar, taste it, some people likes the brine tangier or sweeter.
1 tablesspoon sea salt, adjust salt to your taste.
Method:
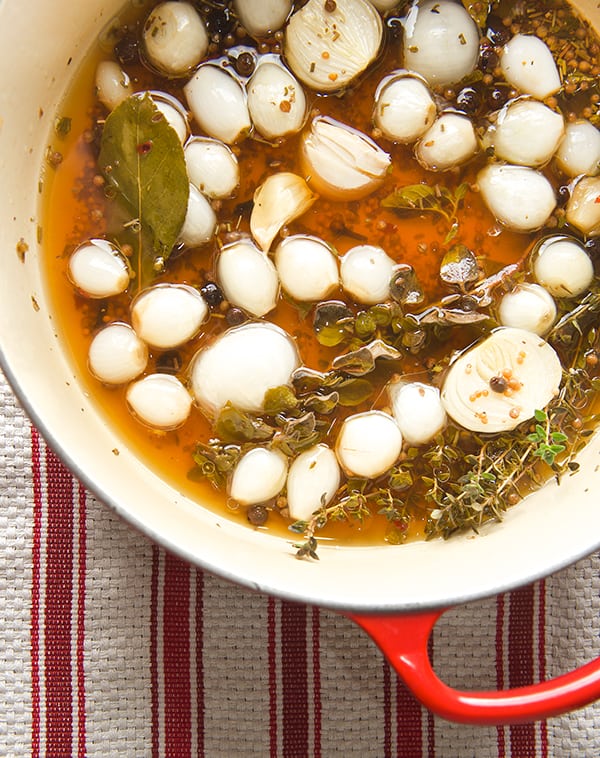
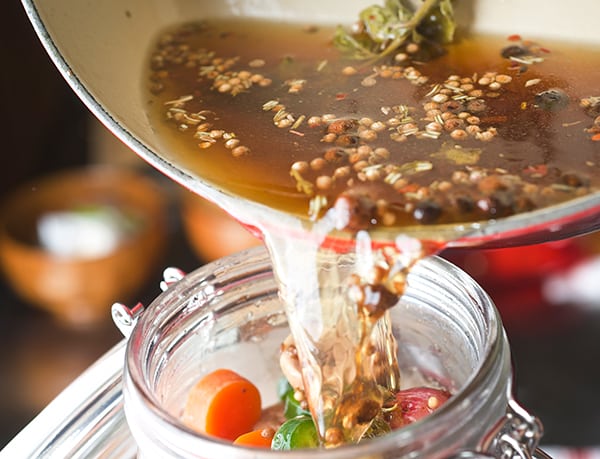
In a large pot sauté with oil the pearl onions and garlic for about 2-3 minutes. Add the chiles Jalapeños and sauté until bright green. Add water, vinegar, salt, sugar and spices bring it to a simmer until sugar dissolves. Turn off add the fresh herbs, cover and let it steep for 5 minutes. Add the carrots, potatoes mushrooms and cauliflower florets. Let it rest for 30-45 minutes, once is cool down place it into a jar or glass container. (it is always best to use glass) Keep in the refrigerator, give them a little shake-arooh very now and then. These Escabeche Pickled Vegetables get better with time, wait for at least 1-2 days before ready to eat. Enjoy!

~ Escabeche Pickled Vegetables are a great little nibbling with a beer ~
Music Pairing: Cafe Tacuba- Maria


